Diving into the head replacement, I found some conflicting assembly instruction with the new ARP head bolts I bought. The bolts came with instructions not to use the factory torque spec and to torque to 85 ft lbs with use of their assembly lube. The factory torque spec is 95 ft lbs. No mention if oil or assembly lube is used.
Another thought, should the screw in rocker studs be replaced or will using the old studs be sufficient?
Morning coffee hasn't kicked in yet. Looks like I'm going to have to reuse the three center studs to mount the oil drippers. To simplify matters I'll just use the present head bolts. Should oil be used on the threads of the old bolts?
Or dip in 30w oil. Just enough to wet'm. Wipe off all excess lude or oil. Make sure block treads are clean and dry before mounting heads.
Did it come with bolt sequence? Start with center bolts and zig-zag up-n-down working your way both directions to front and rear of heads.
Also may not be the best or correct way. There are alot of arguments, but i torque to 60-70 lb's 1st(depending on I or A heads), then go back and final torque using same sequence.
If you have A-heads, after 1st intial heat up, let'm completely cool down and retorque again.
Da'know Gordon, I'm guessing stock YT 400 spec. The motor of course is not original, and getting the passenger head off looks to be a relativity recent rebuild. No info could be provided from the PO about the motor.
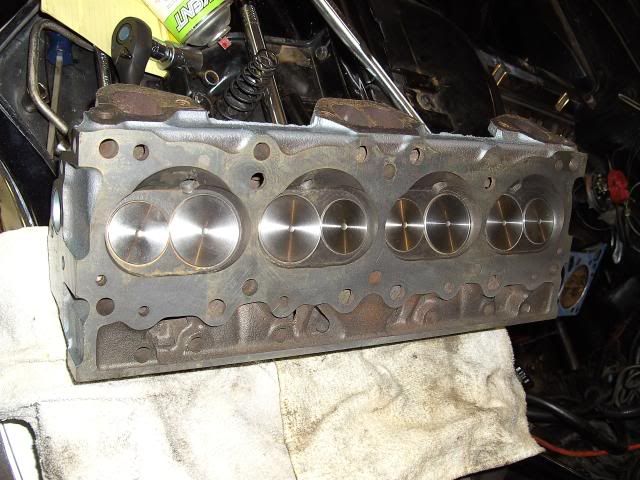
Iron #48's are going back on. The Pontiac Service Manual states 95 ft lbs. I've heard that argument to. I to like to give a 75% 1st torque, then final in same sequence.
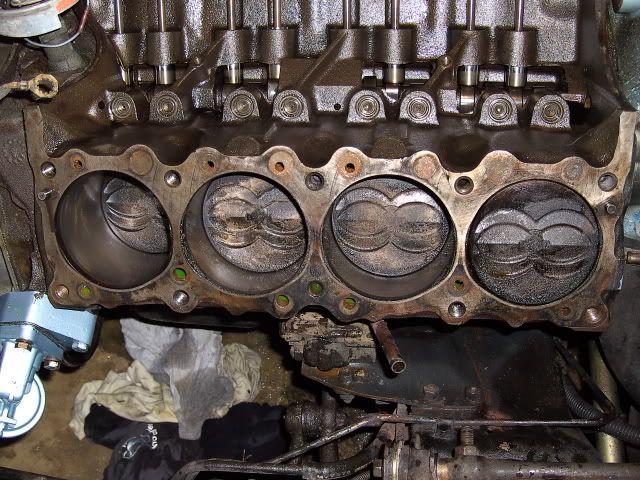
You should do some measuring and calculating while you have it apart. It would be good to know what compression you have. If those are newer pistons they will have some info on the face.
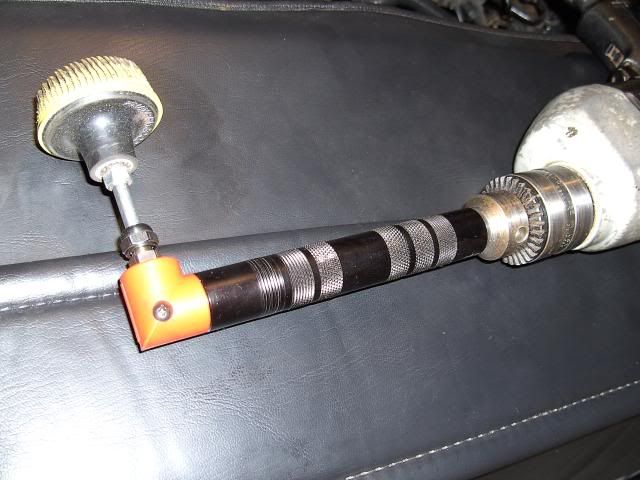
Yepper, I'd like to get the new heads on today. Then I'll be asking questions about the best way to seal the valley pan and intake water neck. I also have another thread question; what to use for cleaning the piston tops.
Stock valley pan? I glue the gasket to the cover, then install. Also use alittle rtv around the 2 bolts.
Best way to seal the water x-over is to separate it from the intake. If you dont want that, start all the intake bolts, then pull it up snug to the tmg cvr with the horizontal bolt. Then torque the intake bolts starting with the inside ones 1st, working a zig-zag pattern from each side working outward towards the ends. Same as head bolts.
Yep, stock pan. I was really worried about the seal for the water jacket to timing cover. The last time I was this deep was with a SBC. Of course these assemblies don't come up for Cheby's.
You should do some measuring and calculating while you have it apart. It would be good to know what compression you have. If those are newer pistons they will have some info on the face.
No #'s on the pistons. On the cam I found 529472. I searched over at Wallace Racing on the cam. 1959-64 4bbl. 273/282 Dur., .407"/.411" Lift w/1.50 rockers. Even with the way I drive this car, I'd get fair gas milage.
The cam Vikki gave me, 540233, I found to be a 1961-62 389 SD. 308/312 Dur. .405"/.404" Lift w/1.50 rockers. Not quite a RAIV cam, but in the pecking order, still a nice mechanical cam.
Na, I'm not going to do it... but it would be nice to hear it go lump lump lump lump.
Also consider the head gasket torque specs provided. As with Fel-Pro, the installation method is developed for that specific gasket and engine. Just food for thought.
I'm in the process of replacing also. I like the pictures, keep em coming.
Have you thought about an 068 cam? (RA III) It has good all around performance vs. the RAIV which is made for higher RPM?
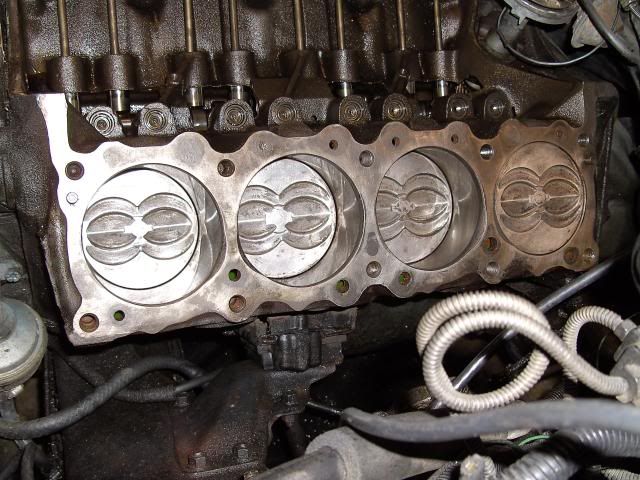
In doing some more cleaning, I did find 030 marked on two of the pistons. So I'm going to assume this motor is .030 over. Is there any way to figure the volume in those double (eyebrow) valve relief pistons? I imagine it will add to lowering the compression ratio.
Originally Posted By 4dabird
Also consider the head gasket torque specs provided. As with Fel-Pro, the installation method is developed for that specific gasket and engine. Just food for thought.
I'm in the process of replacing also. I like the pictures, keep em coming.
Have you thought about an 068 cam? (RA III) It has good all around performance vs. the RAIV which is made for higher RPM?
I'm not going for a cam swap at this time. Vikki set me straight on cam ID. That RAIV cam may be used in the WT block I'm piecing together.
Look very closely at the two pistons you found the .030 on. There should be a part number and that will give you the info on the combustion chamber size. Those look like Badger pistons with the double reliefs. They run 9.2 compression with 72 cc heads.
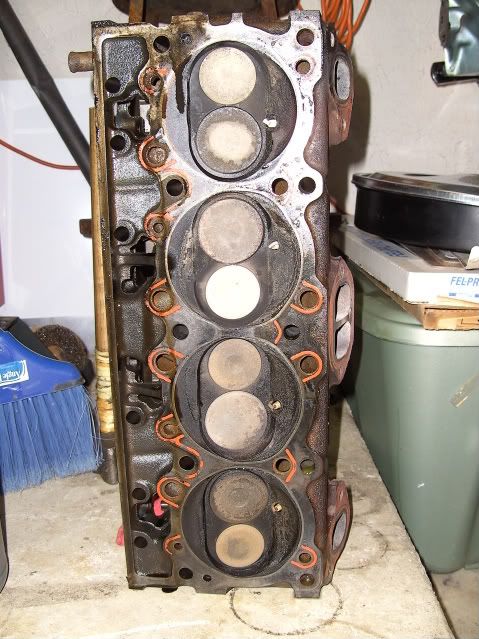
I'll have to wait 'till I get the left bank cleaned to see if there's more #'s. With some more blood and sweat I'll get to that early tomorrow. Cut myself good on the fan blade, now removed. The temperature was in the 90°s, so I had wrap the ol' top knot in a bandanna, to keep the sweat from rollin' in my eyes. I'm takin' it slow. I forgot how much of a task this is. I'll wait 'till it's all over to see if I have to shed any tears.
")