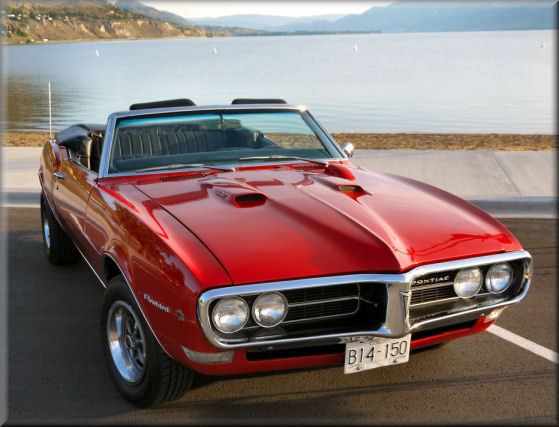
My 68's front bumper does not seem to be aligned correctly. There is a big gap on the side and the head light panels have a gap. Can I email a pic to someone so you can get a better Idea of what I'm talking about. (unable to post pic on here). Not sure if my bumper is slightly warped or if its out of alignment.
You'd have to define "big gap". There is typically about a 5/8" to 3/4" gap around the sides. There are vinyl 'fillers' that bolt to the fender and bumper for '68. '67's had vinyl fillers too, with the early '67's having metal.
You can look at some close up shots on my photobucket for comparison.
If you want to email some pictures, you can send them to me at vike108@yahoo.com.
Craig
I used to be indecisive. Now I'm not sure. I feel like I am diagonally parked in a parallel universe. 1968 400 convertible (Scarlet) 1976 T/A - 455 LE (No Burt) 1976 T/A New baby, starting full restoration. 1968 350 - 4 speed 'vert - 400 clone (the Beast!) 1968 350 convertible - Wife's car now- 400 clone (Aleutian Blue) (Blue Angel) 2008 Durango - DD 2008 GXP - New one from NH is AWESOME! 2017 Durango Citadel - Modern is nice! HEMI is amazing! 1998 Silverado Z71 - Father-daughter project 1968 400 coupe - R/A clone (Blue Pearl) (sold) 1967 326 convertible - Sold 1980 T/A SE Bandit - Sold
Usually its just an alignment issue....takes a bit of work to get it right. I still have a little work to do....got it closer using the jack and another buddy to tighten the bolts. I also recall shimming one of the braces with a washer to move it to the left where needed.
Word of wisdom, tape the painted surface of the fenders first...does not take much to get an ouwey....I did when I first mated the two together, 4 days after the paint job....ouch that hurt
Last edited by Dave's White Rock '68 Droptop; 01/11/1006:38 PM.
I have about the 5/8 gap between the bumper and the front of the fender. I had the whole thing tore apart to the radiator core. I assembled most of the bumper assembly on the floor. When I was ready to re-install I basically hung the bumper from the insulators that are threaded on both ends and have the rubber between them. Once I got it settled from side to side I swung the assembly back to attach the bumper brackets to the frame. I had never done anything like this before, but when I did it this way it made it a bit easier for me. I was able to do most by myself.
")